We built these Windows utilities for our own work on client networks: watching a flaky circuit, working a stack of switch consoles, moving config blocks through a change window. They're free to download, digitally signed by ECXSystems LLC, and need no account.
A network monitor that puts each target in its own tab, graphs it live, and keeps the history through a reboot. When someone says the connection was slow at 2:15, you can show which hop dropped packets.
Endpoint ping or per-hop traceroute for each target, at intervals from 500 ms to 5 s or a custom value.
Native ICMP. Needs no administrator rights and doesn't call ping.exe or tracert.
History stored locally with 1-minute rollups and a retention period you choose.
Hop details: reverse DNS, address scope, and ASN and location for public IPs. Private addresses never leave the machine.
Alerts on latency, loss, or jitter thresholds, with desktop notifications.
PNG and CSV export for tickets and carrier escalations.
Windows 10 / 11 · x64Signed by ECXSystems LLCUpdated Sep 13, 2026
Per-user install with no admin prompt; your data is kept if you uninstall. The portable build runs from one file but unpacks on every launch, so it starts slower.
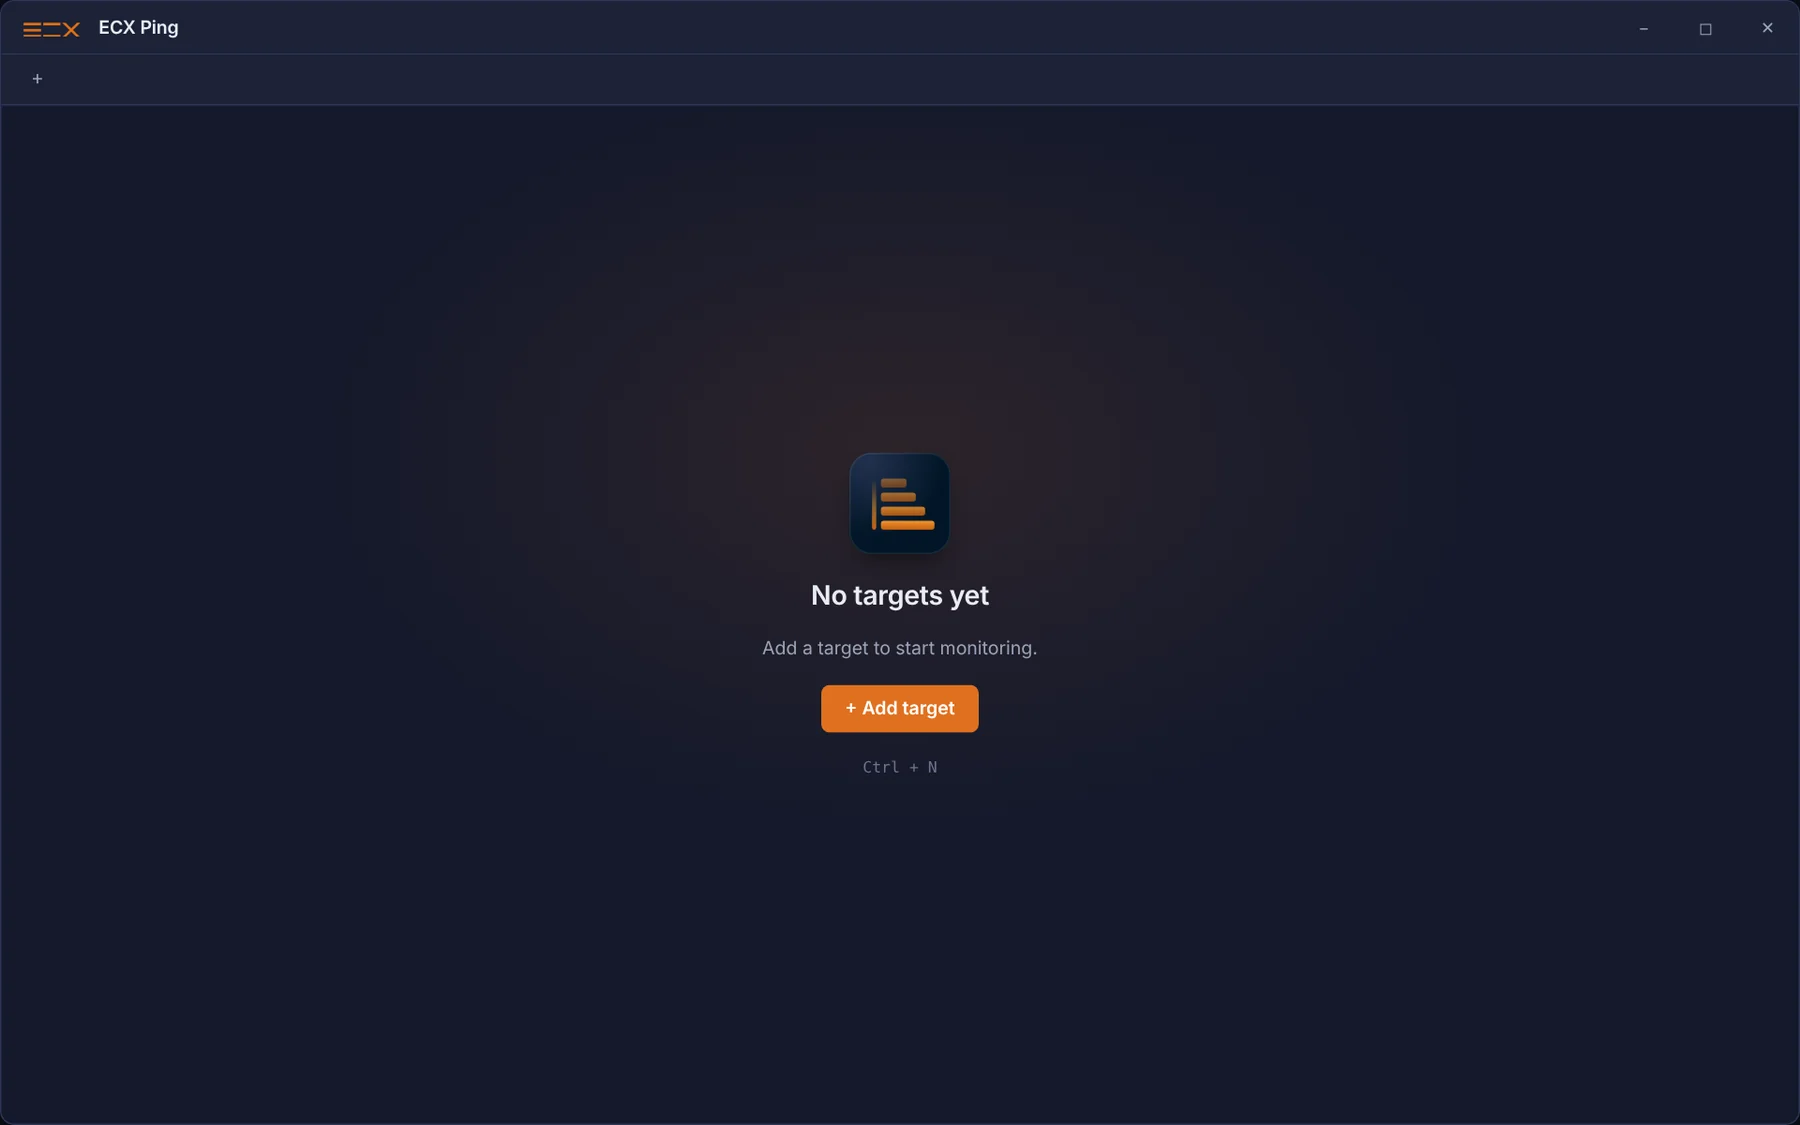
Start ECX Ping and choose Add target, or press Ctrl+N. Each target gets its own tab, and you can drag tabs to reorder them.
Enter a name and a hostname or IP, then choose how often to probe. Use Endpoint to watch the destination, or Per-hop traceroute to graph every router on the path.
The summary cards show average latency, loss, jitter, and the current reading. Loss shows as red marks under the graph. Double-click any hop for reverse DNS, ASN, and location.
Save a PNG snapshot of the graph with its stats, or export the history as CSV, to attach to a ticket or send to a carrier.
Start ECX Ping and choose Add target, or press Ctrl+N. Each target gets its own tab, and you can drag tabs to reorder them.
ECX Console
v0.3.20
SSH, Telnet, and serial sessions, organized by customer.
A tabbed terminal with a saved session tree. Folders hold each customer's devices, and everything runs inside one window with no separate PuTTY windows to manage.
SSH, Telnet, and serial in tabs, with a folder tree and a list of recent sessions.
Import saved sessions from PuTTY, SecureCRT, or MTPuTTY.
Credentials encrypted with Windows DPAPI, plus an optional master password for shared jump boxes.
Built-in SFTP with a two-pane file browser and a transfer queue.
Jump hosts, login commands, and broadcast to send the same keystrokes to several tabs at once.
Session logging to raw, text, or HTML, with optional timestamps.
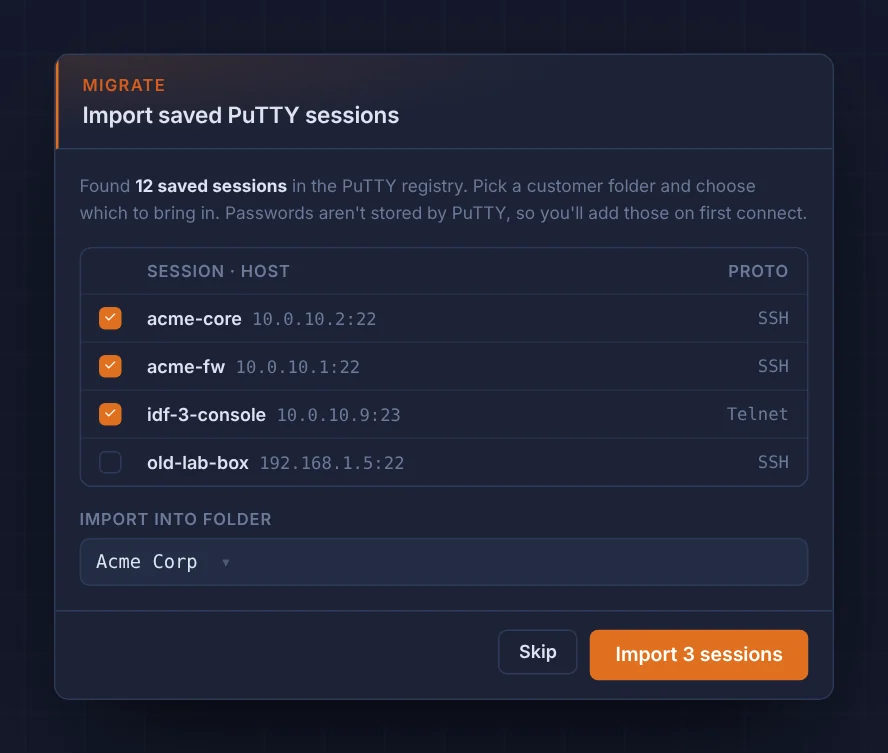
On first run, ECX Console finds sessions saved in PuTTY. Choose which to import and the customer folder they go in. PuTTY doesn't store passwords, so you add those the first time you connect.
Choose SSH, Telnet, or Serial, then enter the host and username. Authenticate with a password, which is encrypted with DPAPI, or with an OpenSSH or PuTTY .ppk key.
Double-click a session in the tree to open it in a tab. The status bar shows the connection and logging state. Tabs stay connected while you switch between them.
Right-click a connected session and choose Open SFTP. Drag files between the local and remote panes, and track progress in the transfer queue.
On first run, ECX Console finds sessions saved in PuTTY. Choose which to import and the customer folder they go in. PuTTY doesn't store passwords, so you add those the first time you connect.
ECX-Clip
v1.3.10
A clipboard shelf for people who live in consoles.
Press Ctrl+Shift+V to see everything you've copied today: commands, config blocks, links, screenshots, and files. It's grouped, searchable, and one key away from pasting. For KVMs and consoles that ignore Ctrl+V, ECX-Clip can type the clip as keystrokes instead.
Live current-clipboard panel at the top of the shelf.
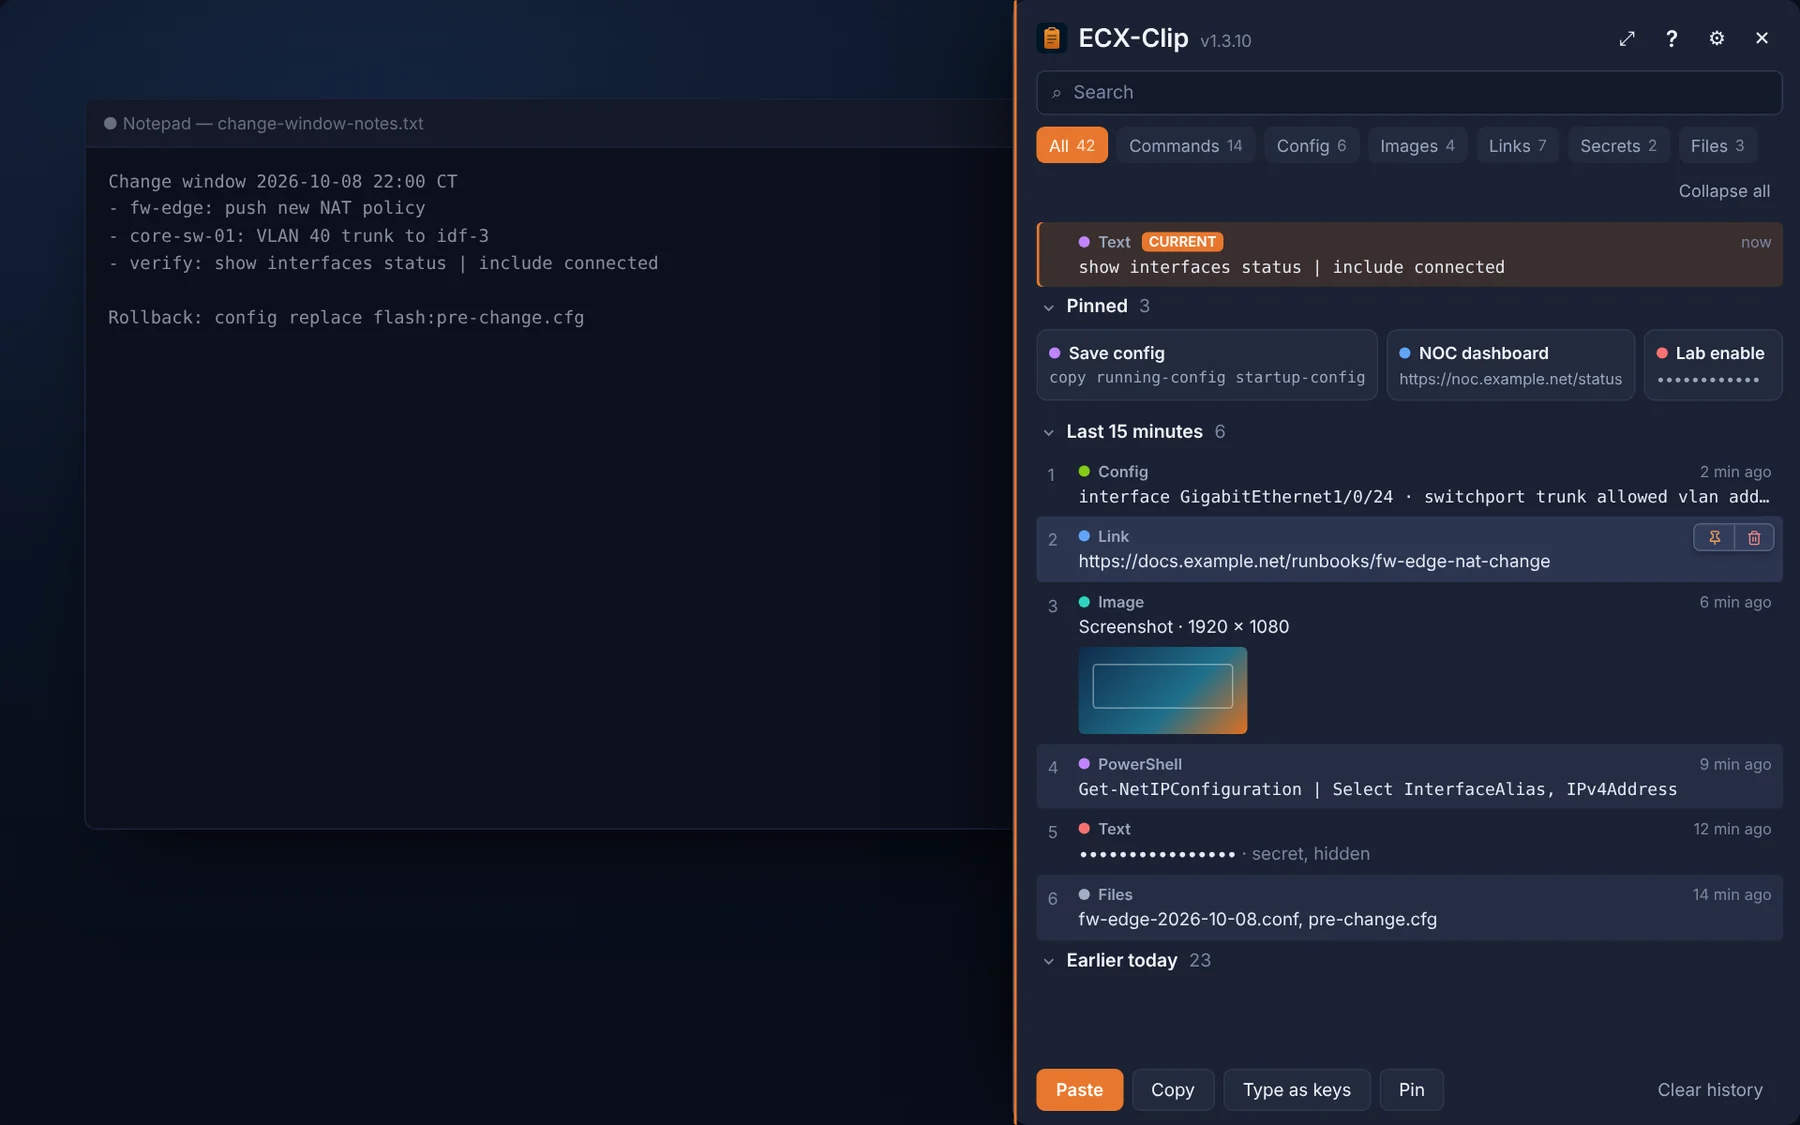
Press Ctrl+Shift+V anywhere. The current clipboard is at the top, followed by your pins and your history grouped by time. Hover a row to pin or delete it, and double-click to paste.
Search or filter by type, then press Ctrl+E to open the reader. Select part of a long config block and choose Copy selection to take only the lines you need.
KVM, iDRAC, iLO, and serial consoles often ignore paste. Press Ctrl+Shift+T or choose Type as keys, click into the console, and ECX-Clip types the clip for you.
Press Ctrl+Shift+V anywhere. The current clipboard is at the top, followed by your pins and your history grouped by time. Hover a row to pin or delete it, and double-click to paste.
Before you install
Installer or portable, and how to verify.
Installer or portable?
Use the installer for daily use. It installs per user, needs no admin rights, launches faster, and updates itself. Use the portable .exe to run a tool from a USB stick or jump box without installing it.
Verify the signature
Every build is Authenticode-signed by ECXSystems LLC and timestamped. To check a download in PowerShell, run Get-AuthenticodeSignature .\ECX-*.exe. The status should be Valid.
Your data stays local
Sessions, history, and clipboard contents are stored in your Windows profile. Apart from update checks, the only outside request is ECX Ping's ASN and location lookup for public IPs, which you can turn off in Settings.
Want these rolled out across your team?
ECX clients get deployment, preconfigured session trees, and direct engineering support for every tool on this page.